We may earn money or products from the companies mentioned in this post, but this does NOT cost you anything extra! Check out my full disclaimer for more info.
Summary
Learn how to build your own custom travel maps with Google My Maps. Organize your favorite spots, add notes, and stop relying on memory or scattered tabs.
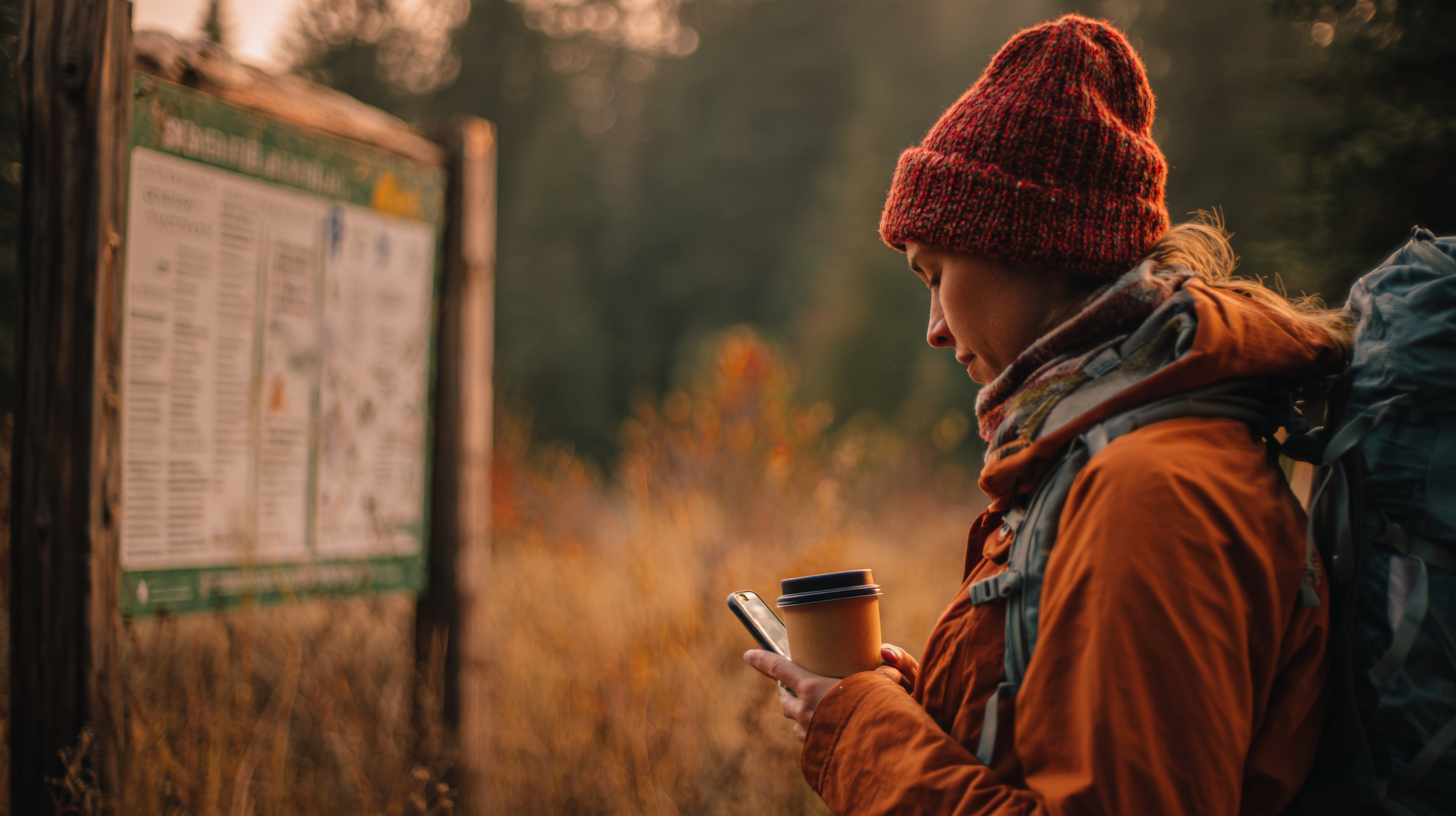
You’ve planned your perfect road trip. Coffee stops, trails, maybe a hot spring or two. But now your bookmarks are a mess, your notes are scattered, and that screenshot of a parking lot?
Good luck finding it again.
What if you could bring all of it into one clean, customizable map?
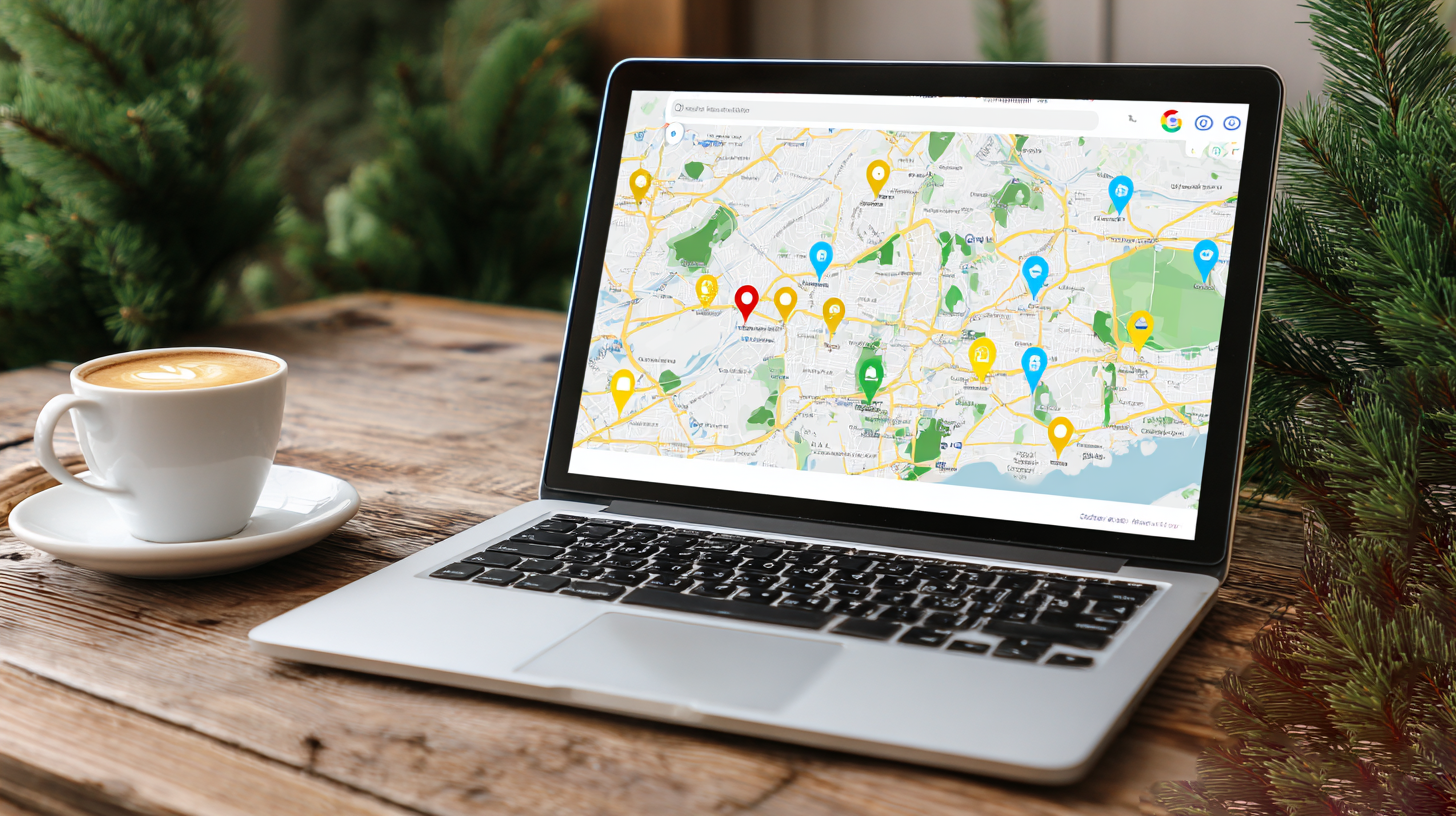
That’s what Google My Maps does.
It lets you organize everything from campsites to bakeries in one place and actually enjoy planning your trip. Whether you’re road tripping through Utah or exploring a new city, this tool makes it easy to stay on track.
Here’s how to use it.
What the Heck is Google My Maps?
I didn’t even know this was a thing till searching around for a better way to plan.
I found that Google My Maps is a free, customizable tool that lets you create a personalized map of, well, whatever you want.
Want to mark all the gluten-free bakeries in Salt Lake City? Do it.
Want to layer in campgrounds, coffee shops, and scenic pit stops? Done.
And best of all? It’s shareable, editable, and fun to build. Think of it as your trip dashboard, but without all the spreadsheet anxiety.
Let’s Create Your First Map
Whether you’re heading to NYC or hitting the Utah backroads, the setup is the same.
Step 1: Head to Google My Maps
Log in to your Google account. I don’t know if you need a Google account, but I was already signed in and I’m sharing what I did.
Next, go to Google My Maps.
If you’ve never been, welcome to the secret travel planning tool you didn’t know you needed.
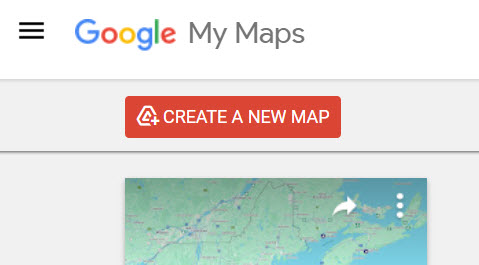
Step 2: Click Create a New Map
Once there, hit the big green “Create a New Map” button.
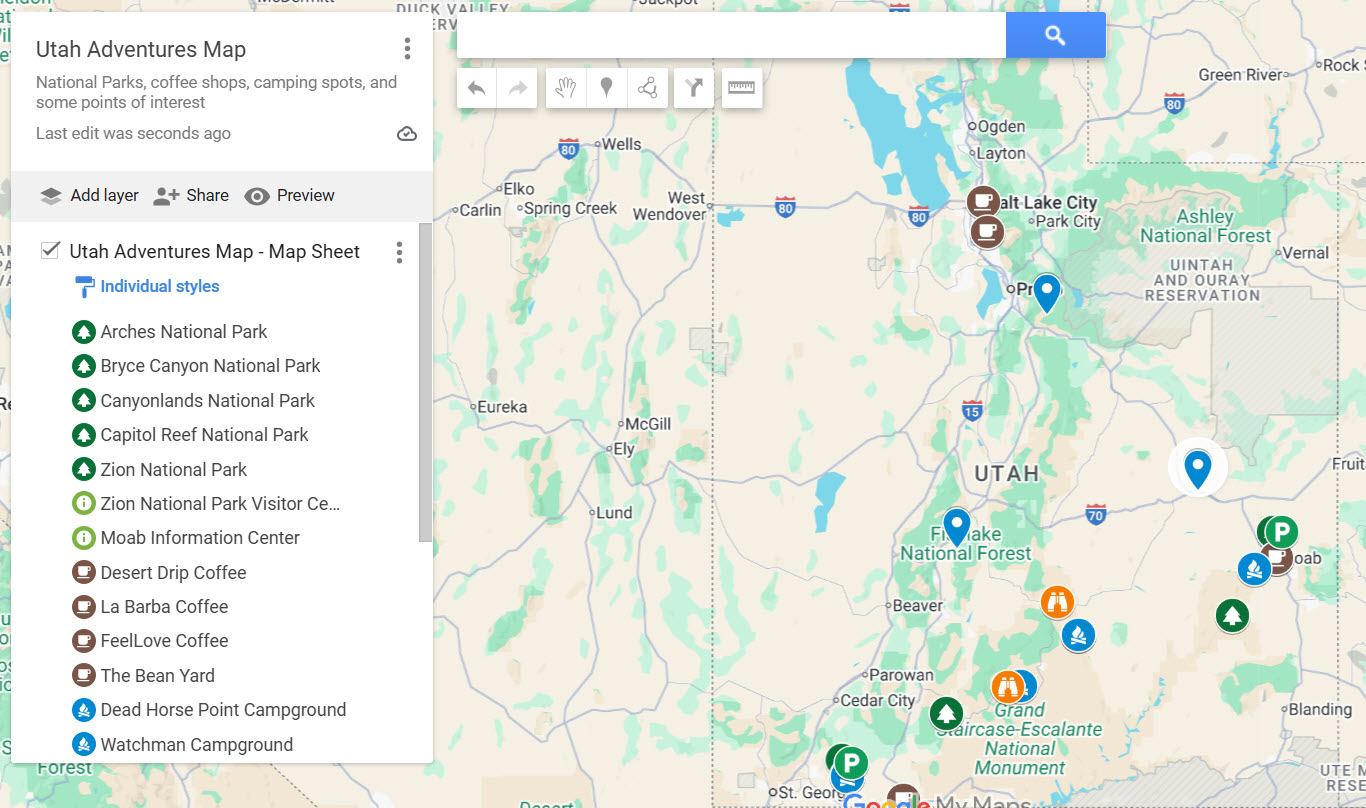
Name your map something fun or practical, like “Colorado Trip 2025” or “Where to Find the Best Tacos.”

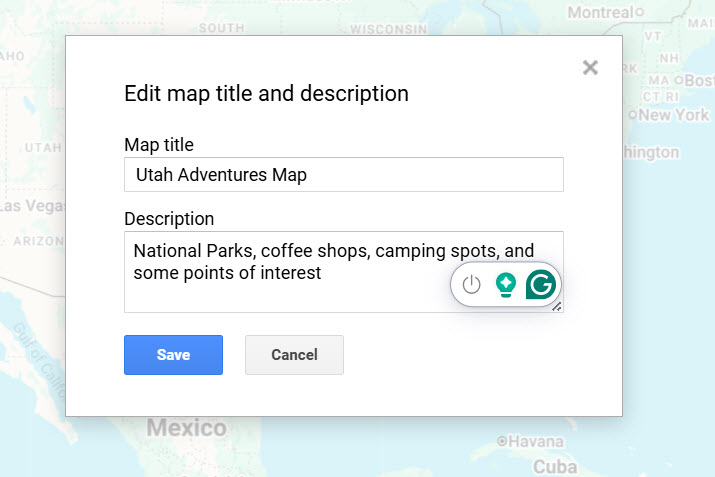
Step 3: Add a Description
Give your map a little context.
Something like: “This is the plan for our big summer loop through Utah. Highlights include camping under the stars, coffee in cool mountain towns, and maybe one or two hot springs.”
Step 4: Add Layers
Layers are the magic behind My Maps. Each one can be its own category. Think of things like:
- Campsites
- Coffee shops
- Scenic drives
- National and State Parks
- Gluten-free bakeries (obviously)
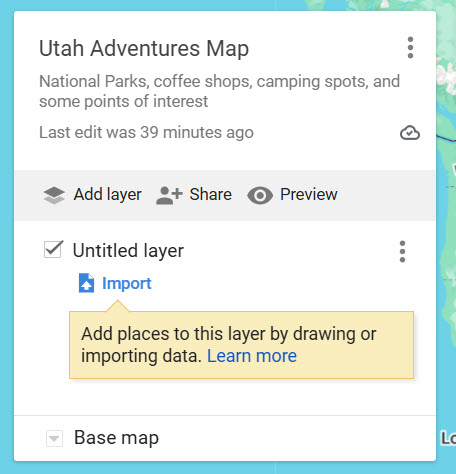
To create a layer, click Add Layer. Remember to rename it so you can keep things tidy.
Step 5: Add Stops
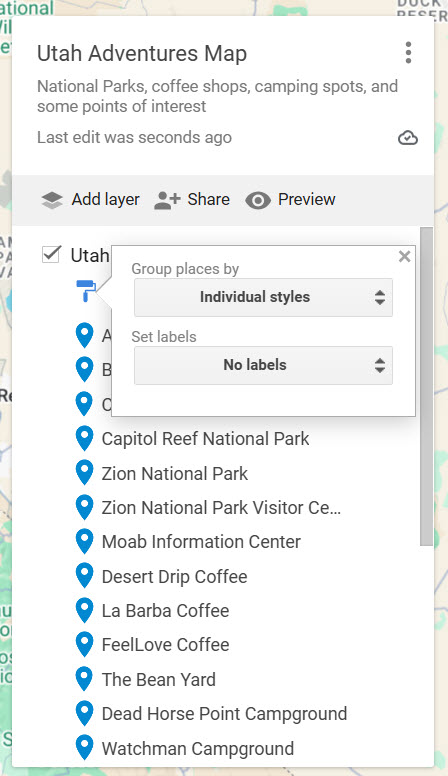
Start adding points of interest by typing in a location and clicking “Add to map.” Then customize:
- Click the paint bucket icon
- Choose a color
- Pick an icon (tent, coffee cup, little hiker dude, you get lots of options)
Now you’ve got a visual code for your trip!
You can do things such as brown pins for coffee, blue tents for camping, and green trees for parks.
You get the idea, and be honest, this is pretty fun!
Step 6: Add Notes
Click on any pin to write notes.
During your research, you might find things that you want to do or try. Read the menus, reviews, etc.
You might add something such as, “Must try the lavender latte here!” or “Park rangers said this trail has epic views but also mountain goats. Bring snacks.”
Step 7: Share the Map
Done? Sweet.
You can now save your map or share it with others!
All you do is click Share, and you can keep the map to yourself or send it to travel buddies.
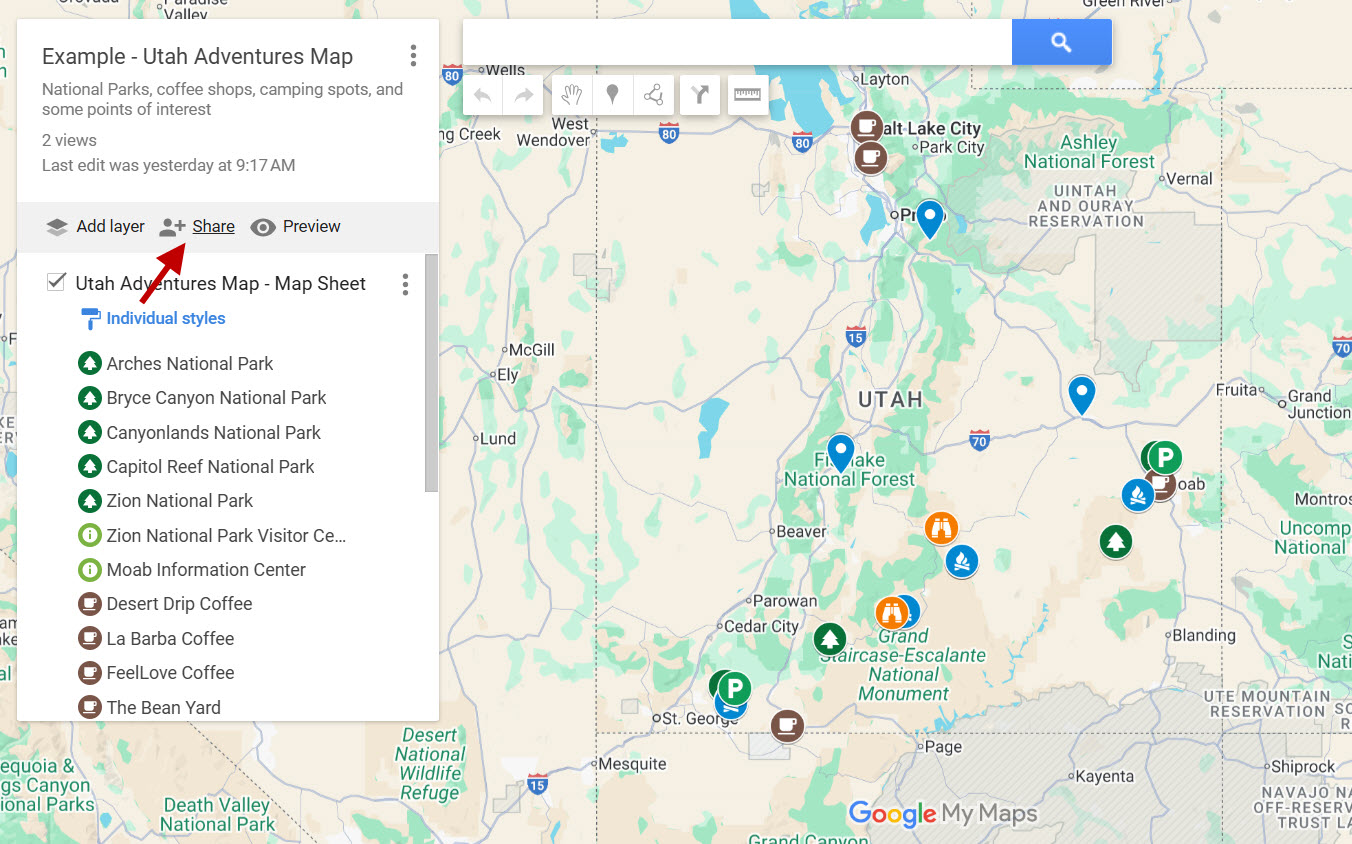
Just don’t forget to double-check sharing settings so everyone can open it.
Want to Level Up Your Map Game?
For those that don’t know me, I am pretty deep in the AI game. Don’t worry, you don’t need to be, but there is one trick to get this map game to the next level.
It’s also free!
But first, I want to share a trick I use that makes you look like you’ve got your life together. And it’s easy!
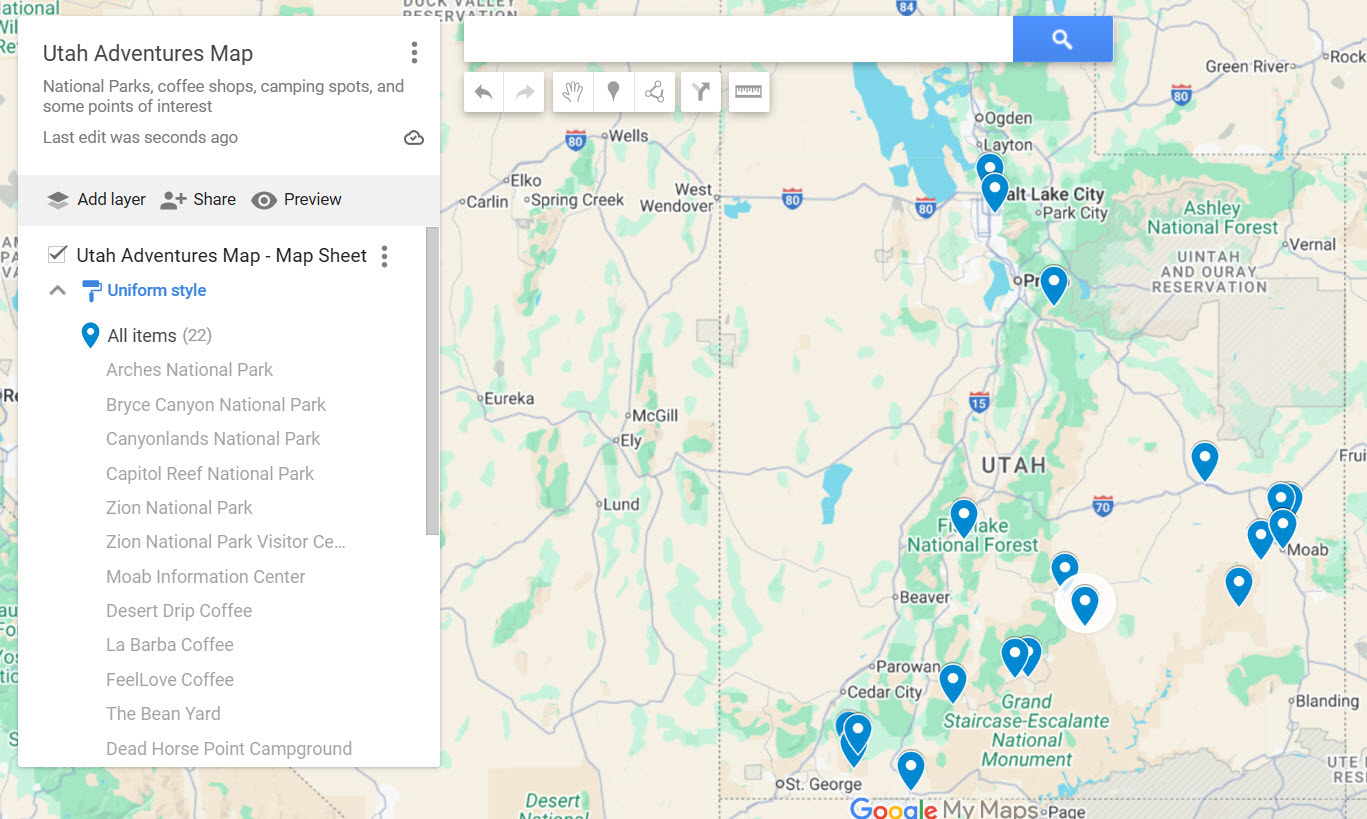
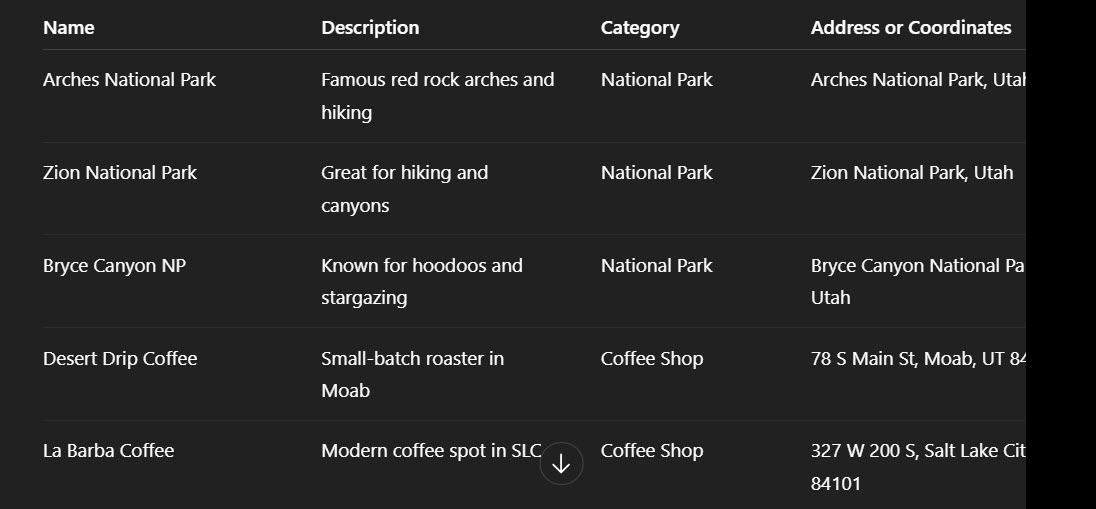
Instead of manually adding everything one at a time, make a Google Sheet.
Your sheet should look something like this:
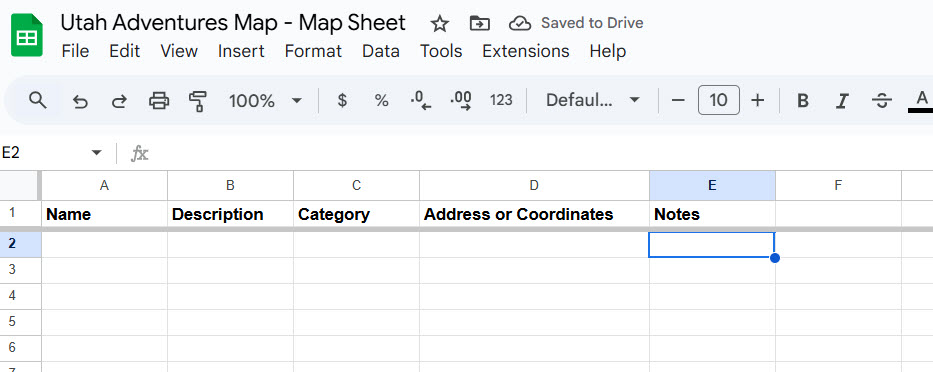
Use it to organize everything ahead of time, especially if you’ve got more than a handful of stops.
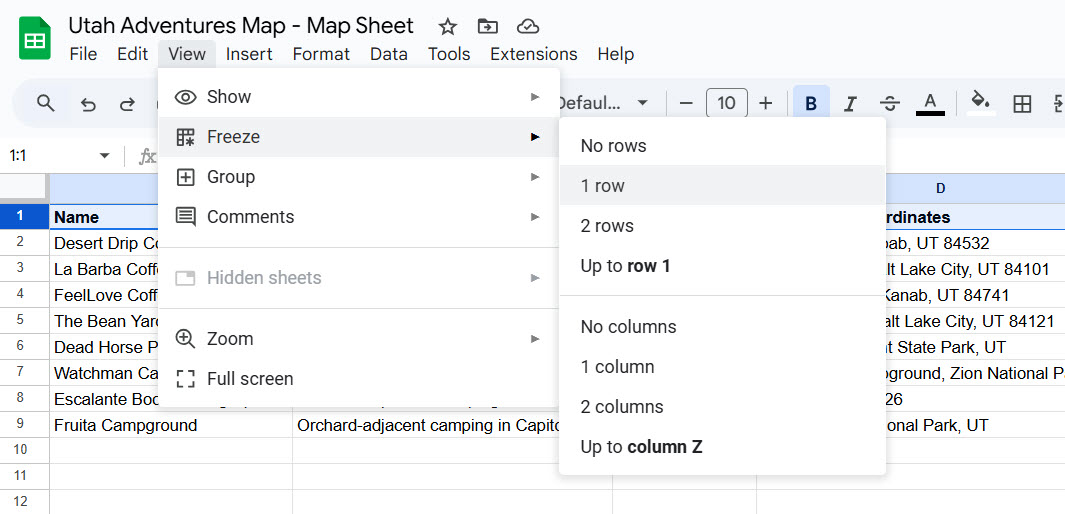
When your Google Sheet is done:
- Go back to your My Map
- Click Import on the layer you want to populate
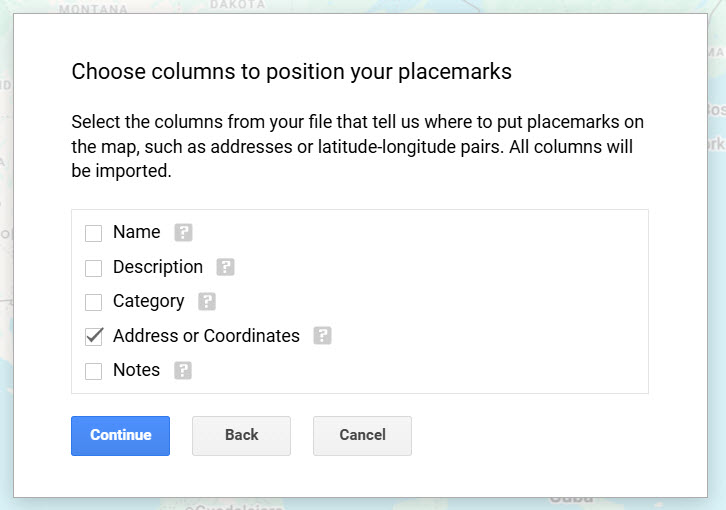
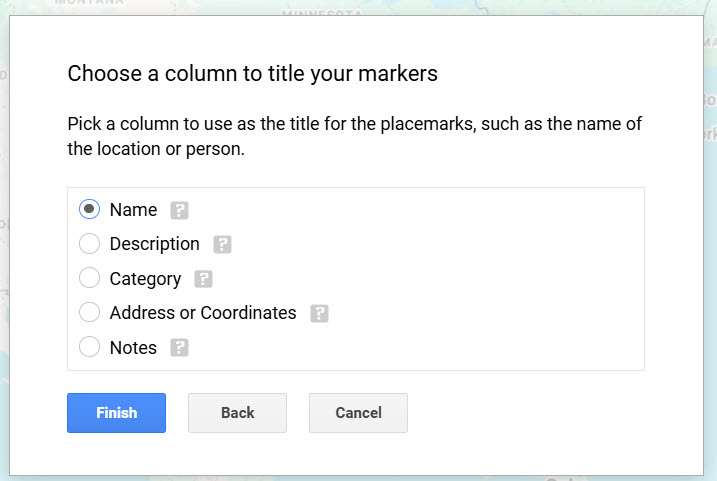
- Choose your Sheet
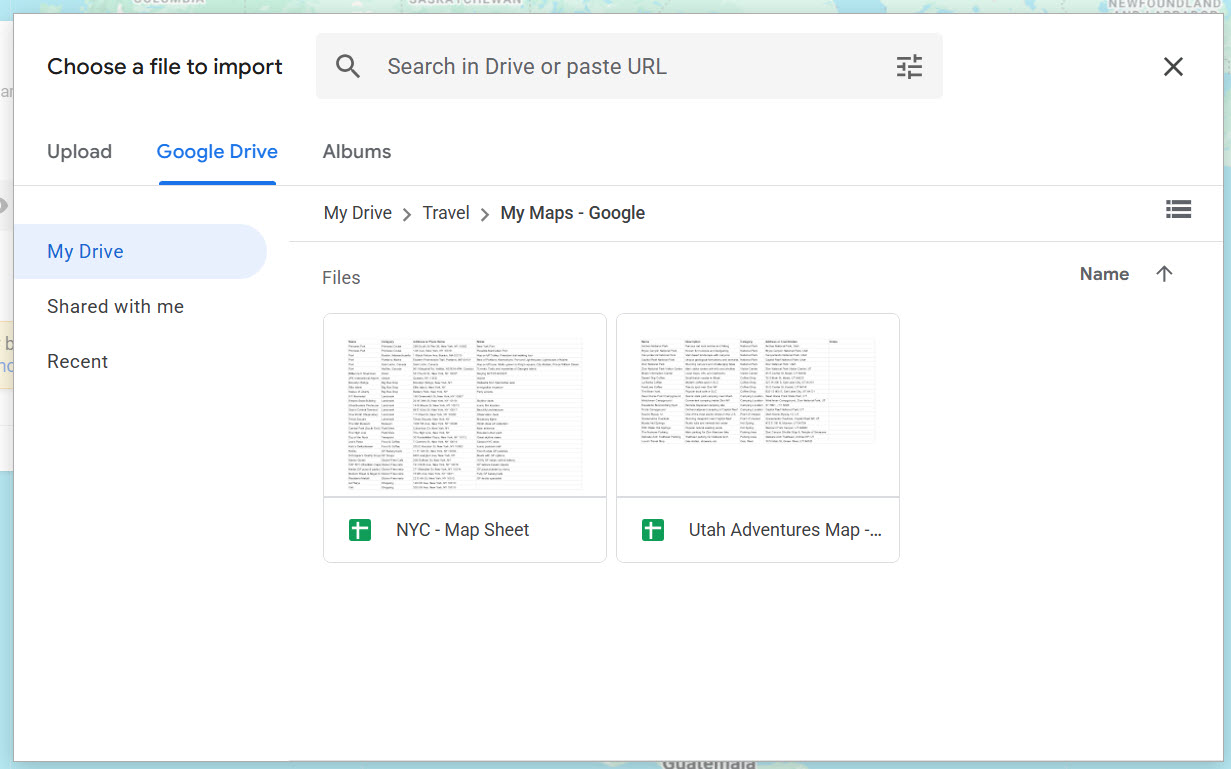
- Select which column has the address and which has the name
You will want to use the next two images for:
And just like that, all your spots magically appear. It’s like wizardry, but without the wand.
Use ChatGPT to Help Build Your Map
Now for the good part, and yes, I use ChatGPT to help me plan trips.
In fact, here’s the actual prompt I use:
I’m planning a trip to [CITY OR TOWN] Park and want to import a list of places into Google My Maps.
Please generate at least 2–3 entries for each of the following categories (or as many as are relevant):
– National or State Parks
– Coffee Shops
– Camping Locations
– Points of Interest (scenic drives, landmarks, attractions)
– Hot Springs
– Visitor Centers or Ranger Stations
– Parking Areas (especially for trailheads or hikes)
Output must be in a clean, copyable TABLE format with three columns:
Name | Category | Address or Place Name
Please format it like a Markdown table or plain text table so I can copy and paste it directly into Google Sheets starting at cell A1. Do not include bullet points, extra commentary, or formatting outside the table. Just the table itself.
Swap out the city name and tweak the categories if you want more waterfalls and fewer bakeries.
Just remember to Always Double-Check The Results. AI sometimes gets a little creative with locations.
Questions You Didn’t Know You’d Ask
Can I use My Maps on my phone?
Yep. Just open the regular Google Maps app, go to “Saved,” and scroll down to see your maps. You can’t edit from there, but it’s perfect for navigating.
How many pins can I drop?
I don’t know, but I read that you can have up to 2,000 per layer. That’s a lot of espresso shots.
Can I share the map with someone who doesn’t use Google?
Yes, change your sharing link from “Restricted” to “Anyone with the link can view.”
Can I route directions with this?
Sure can. Click the directions icon and add stops like a regular map. Perfect for road trip days.
Can I embed it on my blog?
You know it. Click the menu (three dots) next to your map name and hit “Embed on my site.” Copy and paste the code into your blog’s HTML.
Why You Should Try My Maps
To recap, I’ve been really impressed with using Google My Maps. It’s like giving your vacation planning a shot of espresso.
You can:
- Share and collaborate with friends
- Organize all your favorite spots in one place
- Navigate like a local, even if it’s your first time there
If you’re like me, your regular Google Maps is loaded with pins, and it can be tough to find what you’re looking for. My Maps makes it easy to stay organized for every trip.
Whether you’re heading into the mountains, cruising down Route 66, or just trying to remember that taco place your buddy swears by, this tool keeps everything in one spot.
Don’t forget to use ChatGPT if you want to make this process even easier. All you need to do is verify the addresses and look for more fun things to do.
Give it a try on your next trip. You might wonder how you ever planned without it.